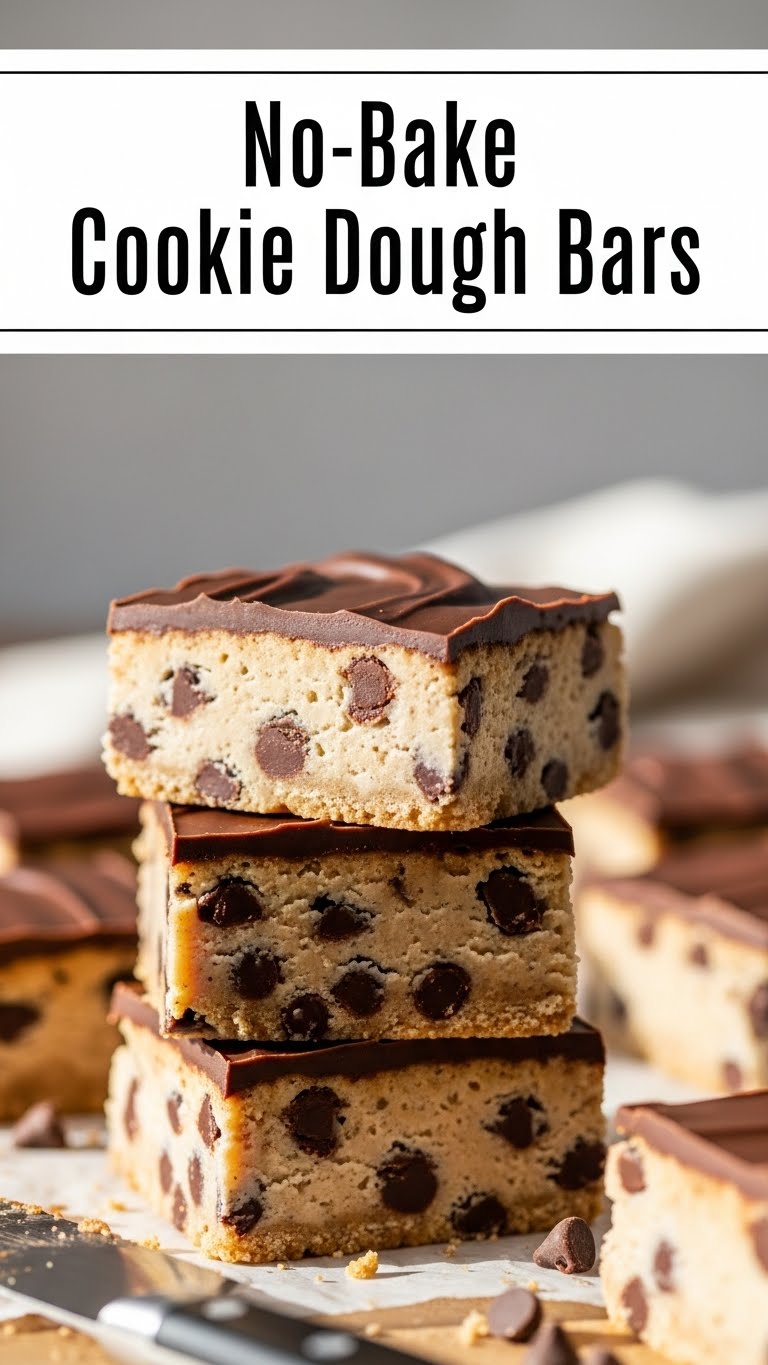
No-Bake Cookie Dough Bars Recipe
No-Bake Cookie Dough Bars are the answer for anyone who loves sneaking bites of cookie dough straight from the bowl, but wants a safer, shareable treat. These bars have a rich, buttery cookie dough base loaded with mini chocolate chips, topped with a smooth, glossy chocolate layer that snaps just slightly when you bite in. There is no oven required, and the dough is made egg-free with heat-treated flour, so it’s easy to feel good about serving them. They’re perfect for parties, potlucks, or late-night cravings when you want something nostalgic and indulgent without much effort.
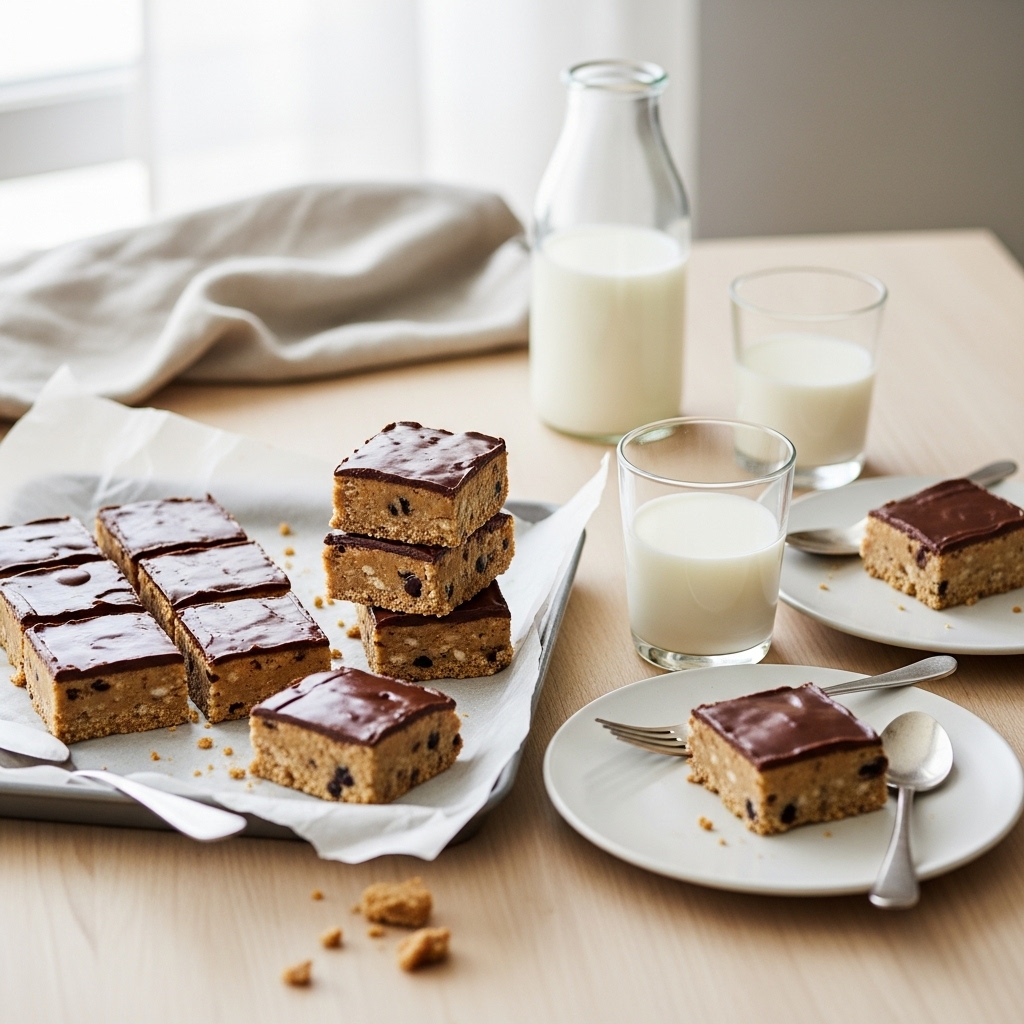
These bars are ideal for make-ahead entertaining because they live happily in the fridge and slice beautifully whenever you need them. Serve small squares on a dessert platter, tuck a bar into lunchboxes, or plate them with a scoop of vanilla ice cream for an over-the-top dessert. You can easily switch things up by using dark chocolate chips, adding sprinkles, or swirling a little peanut butter into the dough. However you customize them, they keep that classic cookie dough taste everyone loves.
Ingredients
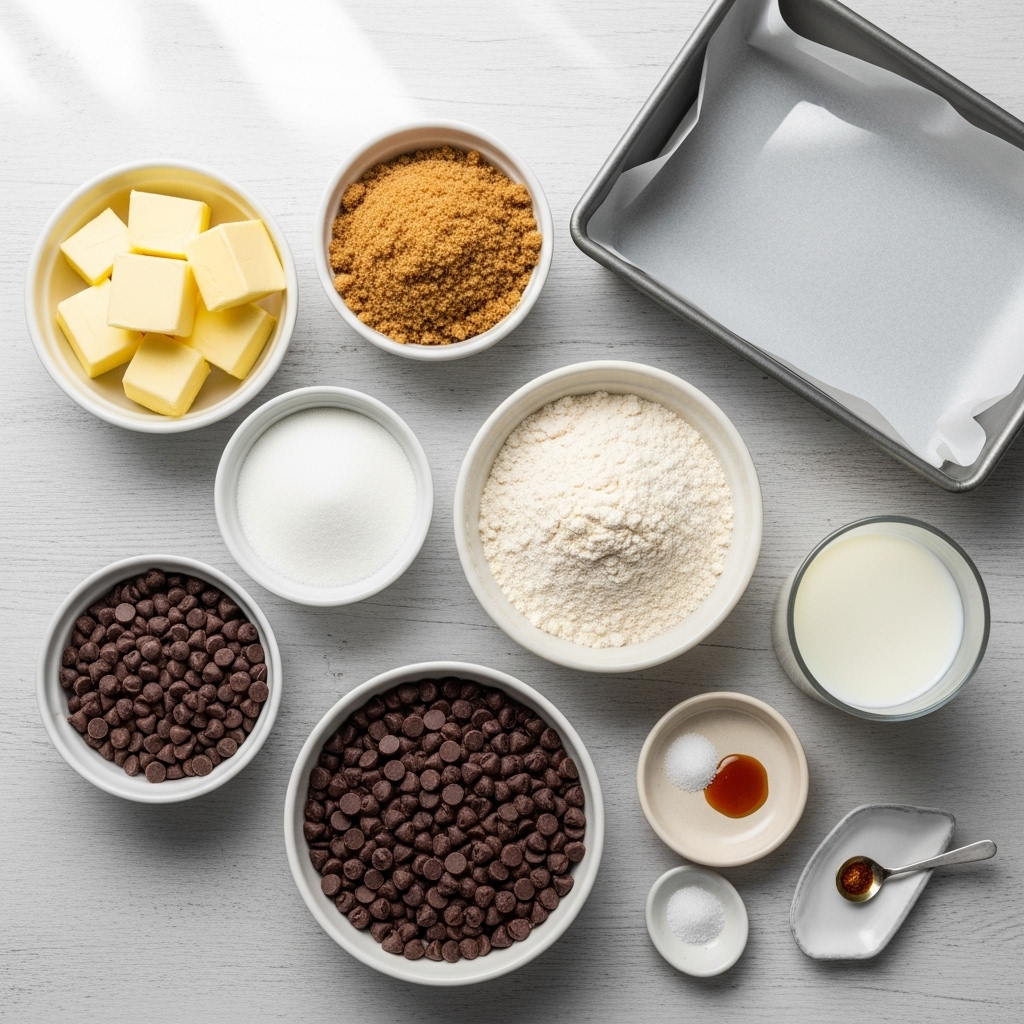
Here is everything you need to make rich, safe-to-eat cookie dough bars with a smooth chocolate topping, all without turning on the oven.
- Unsalted butter, softened – 1 cup (225 g)
- Light brown sugar, packed – ¾ cup (150 g)
- Granulated sugar – ¼ cup (50 g)
- Vanilla extract – 2 teaspoons
- Fine salt – ½ teaspoon
- All-purpose flour, heat-treated and cooled – 2 cups (240 g)
- Milk or heavy cream – 3–4 tablespoons, as needed
- Mini chocolate chips – 1 cup (170 g)
For the chocolate topping:
- Semi-sweet chocolate chips – 1¼ cups (about 210 g)
- Unsalted butter or coconut oil – 2 tablespoons
- Flaky sea salt (optional, for garnish) – a pinch or two
Servings
This recipe makes one 8×8-inch pan, which yields about 16 small squares or 9–12 larger bars. As a rich dessert, plan on 1 bar per person, or smaller squares if serving alongside other sweets.
How to Make It
Prepare the pan and flour
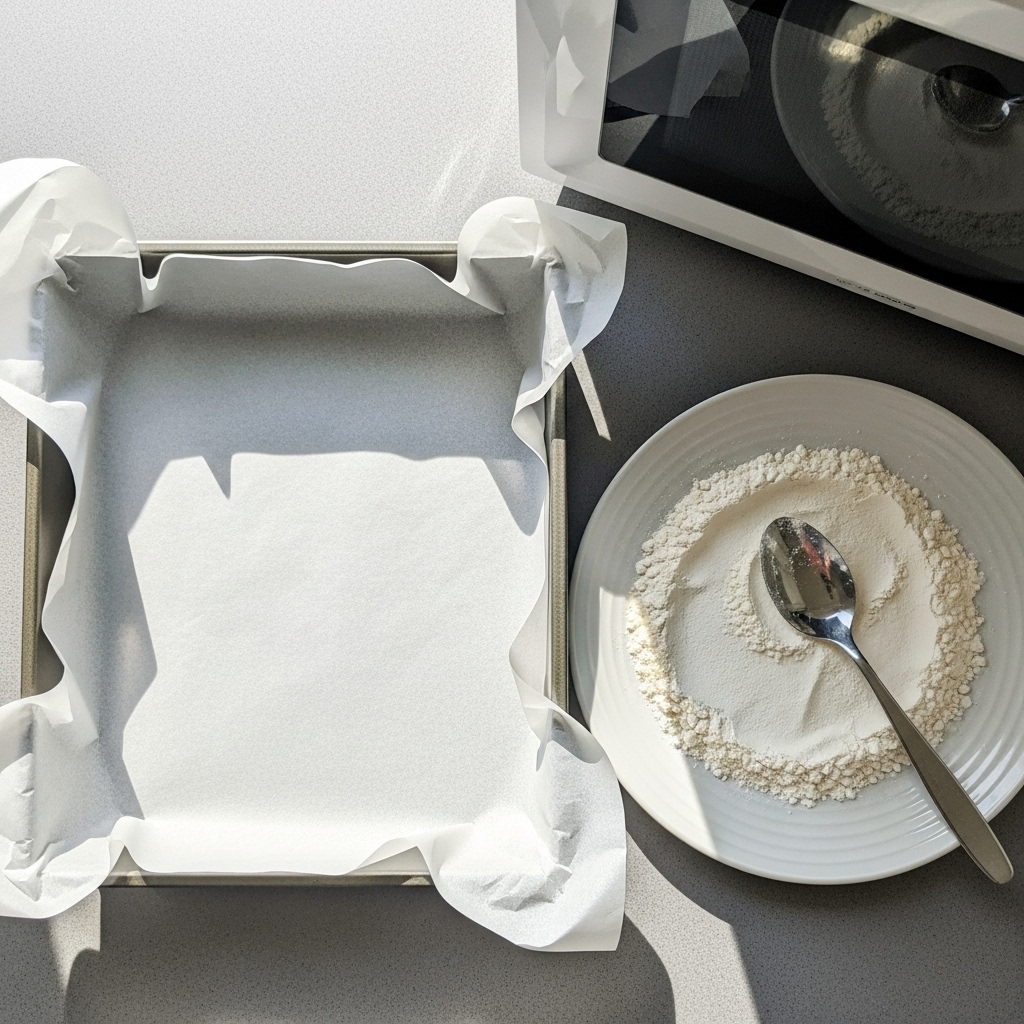
Line an 8×8-inch (20×20 cm) baking pan with parchment paper, leaving an overhang for easy lifting. To heat-treat the flour, spread it on a microwave-safe plate and microwave in 30-second bursts, stirring between each, until it reaches hot throughout (about 1½–2 minutes total). Let it cool completely before using.
Make the cookie dough base
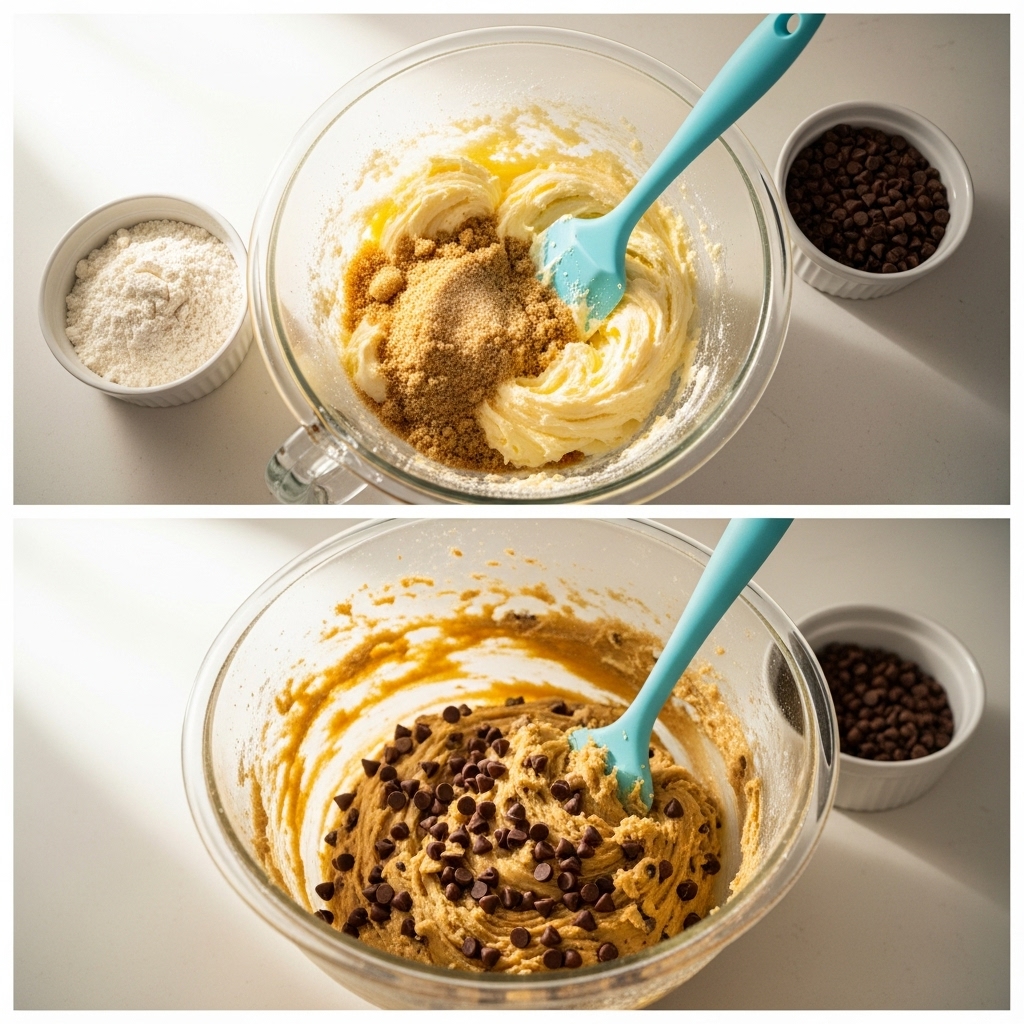
In a large mixing bowl, beat the softened butter, brown sugar, and granulated sugar together until light and creamy. Mix in the vanilla and salt. Add the cooled flour gradually, mixing on low until just combined. Add 3 tablespoons of milk or cream and mix until a soft, thick dough forms that holds together but is not crumbly. Fold in the mini chocolate chips.
Press dough into the pan
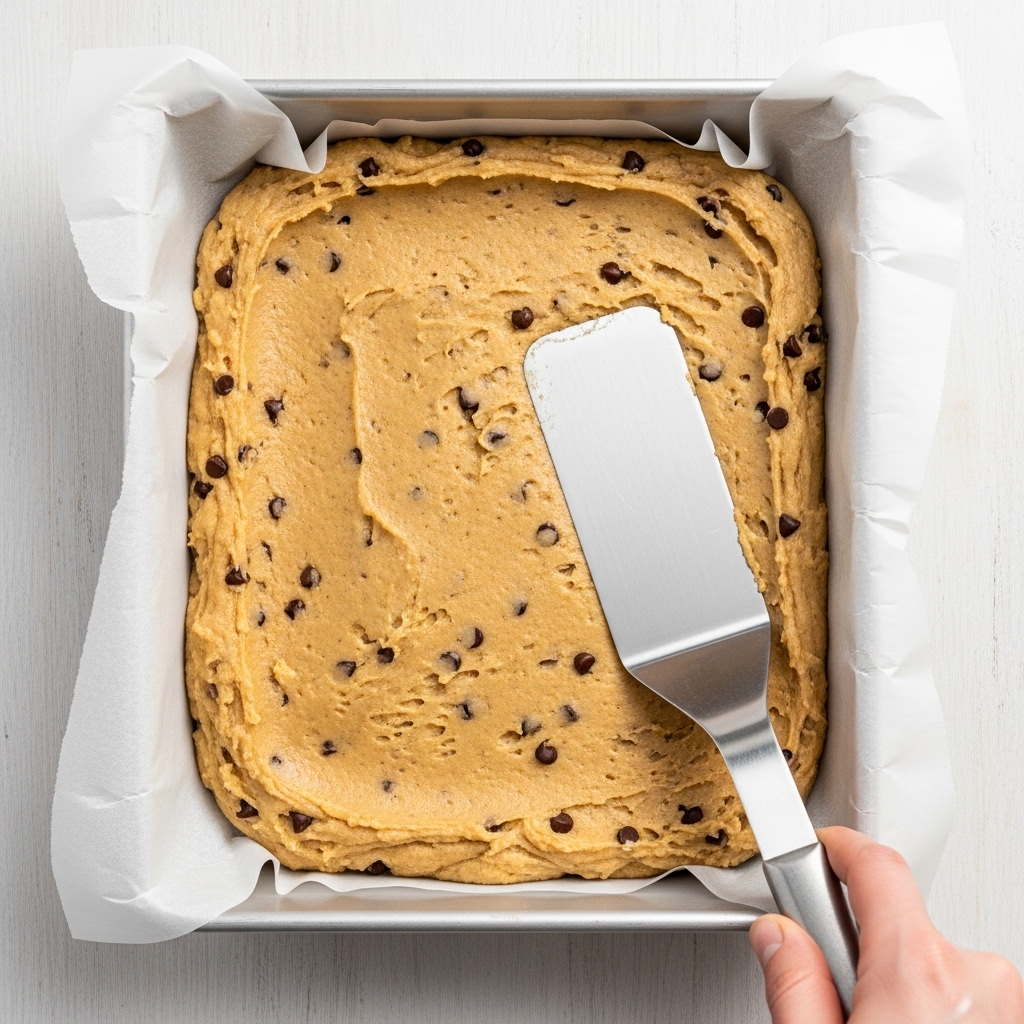
Transfer the dough to the prepared pan. Use clean hands or a spatula to press it evenly into a flat, compact layer, pushing all the way into the corners. Smooth the top as much as possible, as this will help the chocolate layer sit nicely. Chill the pan in the fridge while you prepare the topping.
Make the chocolate topping
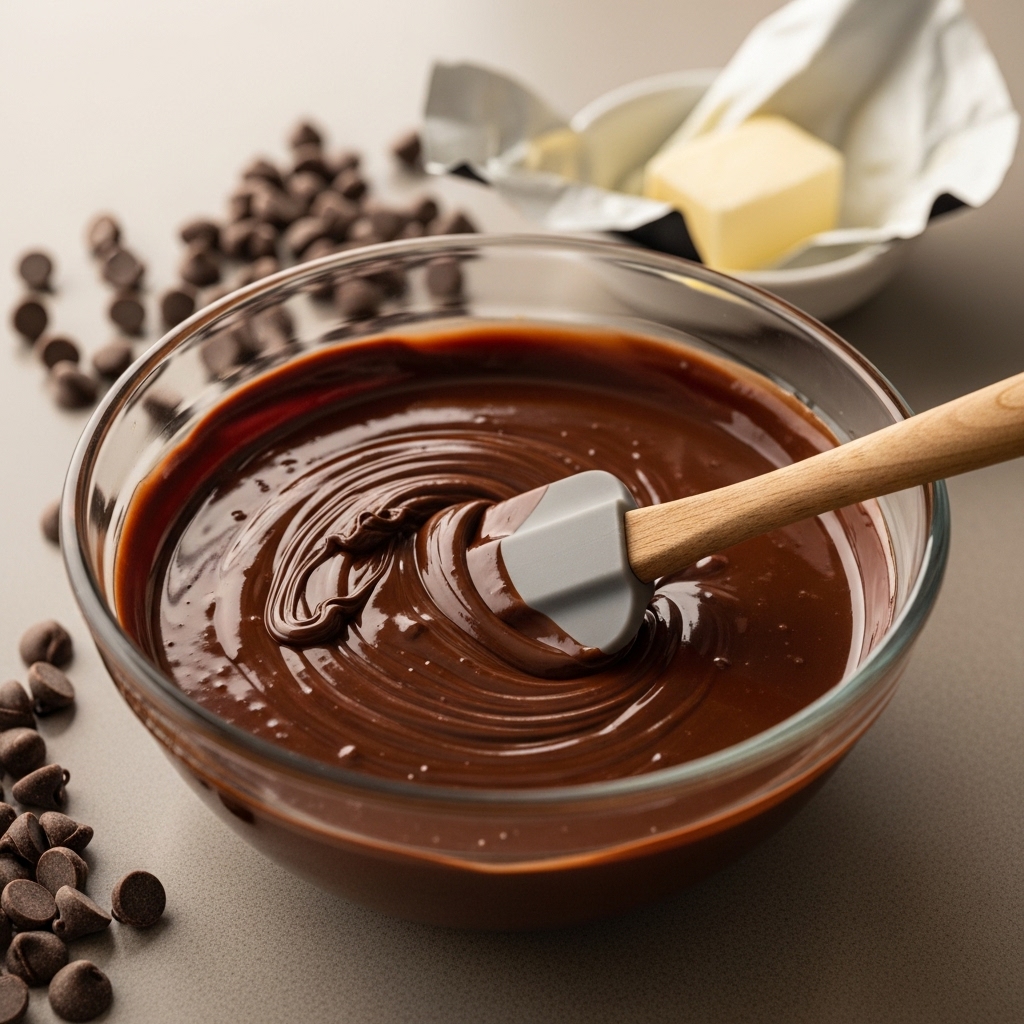
Add the semi-sweet chocolate chips and butter (or coconut oil) to a heatproof bowl. Melt gently in the microwave in 20–30 second bursts, stirring well each time, until just smooth and glossy. Do not overheat. Let the chocolate mixture cool for a couple of minutes so it is still pourable but not scorching hot.
Top and chill the bars
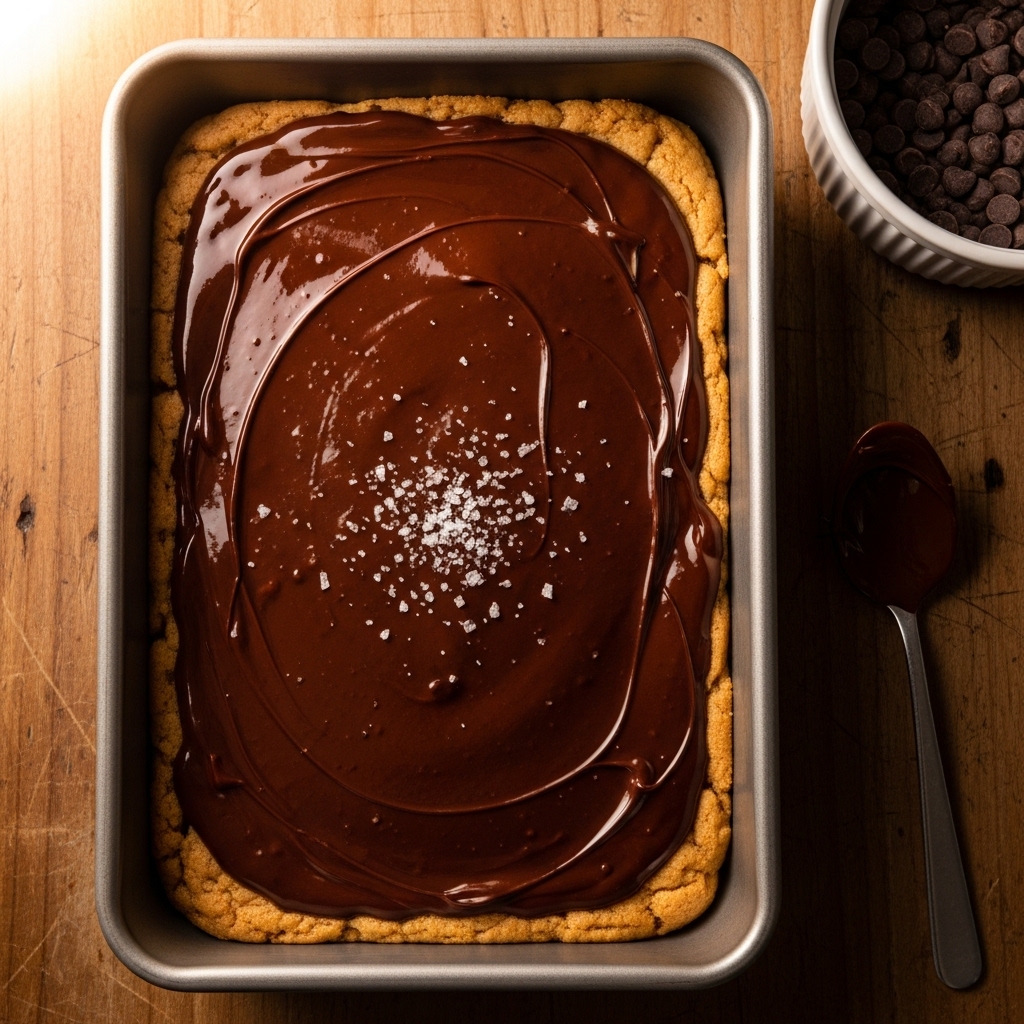
Pour the melted chocolate over the chilled cookie dough layer. Tilt the pan and use a spatula to spread it into a smooth, even layer. If using, sprinkle flaky sea salt lightly over the top. Place the pan in the fridge and chill for at least 2 hours, or until the chocolate is set and the bars are firm.
Slice and serve
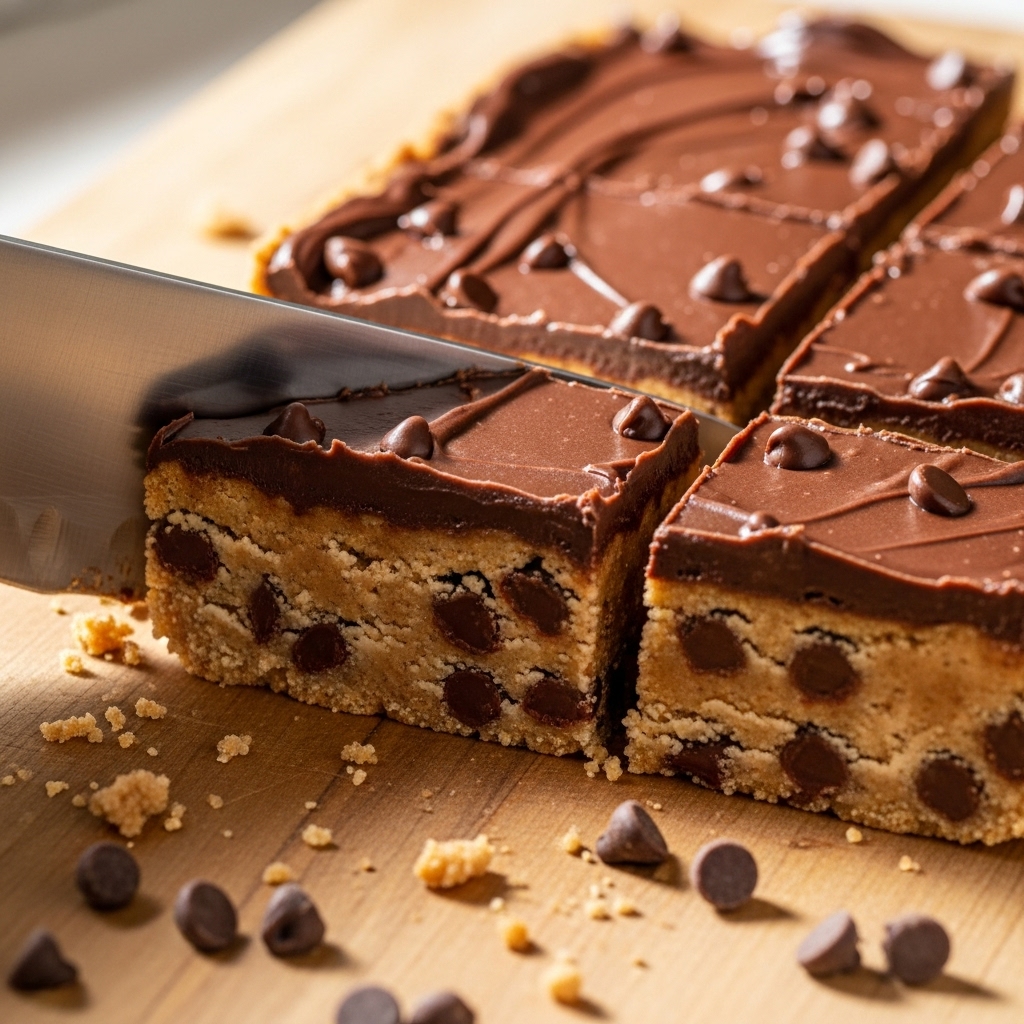
Once fully chilled, lift the slab out of the pan using the parchment overhang and transfer to a cutting board. Run a warm knife through the chocolate (dip in hot water and dry between cuts) to slice clean squares or bars. Serve chilled or at cool room temperature. Store leftovers in an airtight container in the fridge for up to 5–6 days, or freeze for longer.
Pro Tip
For the cleanest slices, chill the bars overnight and warm your knife under hot water, wiping it dry between cuts so the chocolate layer doesn’t crack.
No-Bake Cookie Dough Bars
Notes
Chill the bars well before cutting and use a warm, clean knife for sharp, bakery-style edges and a smooth, glossy chocolate top.
FAQs
Q1. Can I skip heat-treating the flour?
A1. It is not recommended. Heat-treating reduces the risk of bacteria in raw flour, making the dough safer to eat since this recipe is no-bake.
Q2. How long do these bars keep?
A2. Store them in an airtight container in the fridge for up to 5–6 days. For the best texture, let them sit a few minutes at room temperature before serving.
Q3. Can I freeze No-Bake Cookie Dough Bars?
A3. Yes. Slice and freeze on a tray, then transfer to a container or freezer bag. They keep well for up to 2 months. Thaw in the fridge.
Q4. Can I make these bars gluten-free?
A4. Use a certified gluten-free all-purpose flour blend and heat-treat it the same way. Make sure your chocolate chips are also labeled gluten-free.
Q5. What can I use instead of mini chocolate chips?
A5. You can use chopped chocolate, regular chocolate chips, white chocolate chips, or even a mix. Smaller pieces distribute more evenly in the dough.
Q6. Why are my bars crumbly or too soft?
A6. If crumbly, add a bit more milk or cream and press firmly into the pan. If too soft, reduce the liquid slightly and chill longer before cutting.