2-Minute Mug Omelette Recipe
The 2-Minute Mug Omelette is the perfect answer to mornings when you want a warm, satisfying breakfast but have almost no time or dishes to spare. Fluffy eggs cook right in your favorite mug, wrapped around melty cheese, colorful veggies, and a hint of herbs. The texture is soft and tender, like a quick mini frittata you can eat with a spoon. It is ideal for busy weekdays, dorm living, or whenever you are cooking for one. Just whisk, microwave, and enjoy a hot, protein-packed meal in minutes.

This 2-Minute Mug Omelette is endlessly flexible, so you can use whatever bits you have in the fridge. Swap in leftover roasted vegetables, cooked sausage, or your favorite cheese. Serve it straight from the mug with toast, fruit, or a quick side salad for a light brunch. It also works beautifully as a midday snack or protein boost between meetings. Make it vegetarian, low-carb, or dairy-free with simple tweaks, and customize each mug for different family members.
Ingredients
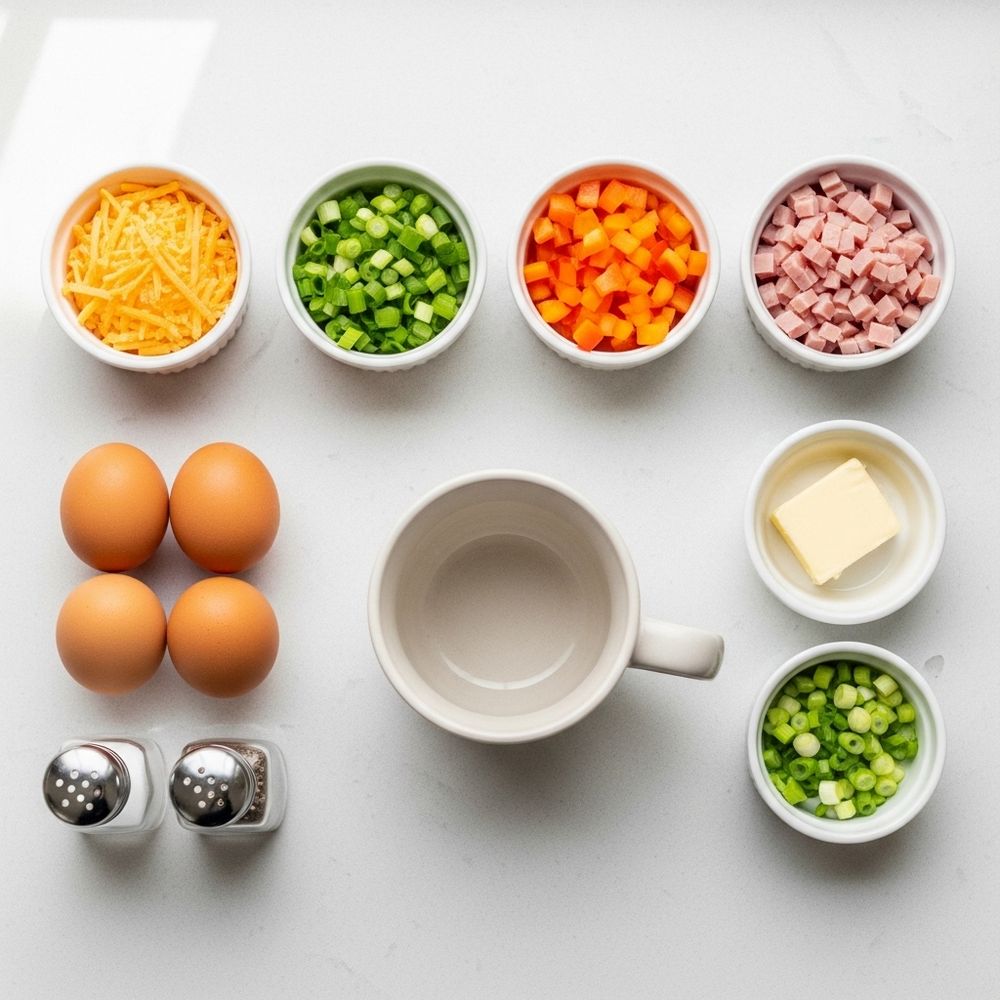
Here is everything you need for a quick, customizable mug omelette you can make in the microwave.
- 2 large eggs
- 2 tablespoons milk (or water for lighter texture)
- 1 tablespoon shredded cheddar cheese (or any melting cheese)
- 1 tablespoon finely diced bell pepper
- 1 tablespoon finely chopped cooked ham or bacon (optional)
- 1 tablespoon finely chopped green onion or chives
- 1 teaspoon butter or a little cooking spray (to grease the mug)
- 1 pinch salt
- 1 pinch black pepper
- 1 pinch dried Italian herbs or parsley (optional)
Servings

This recipe makes one generous single-serving mug omelette, perfect as a light meal on its own or with toast and fruit. For more people, simply repeat the recipe in separate mugs and cook each one individually.
How to Make It
Step one…
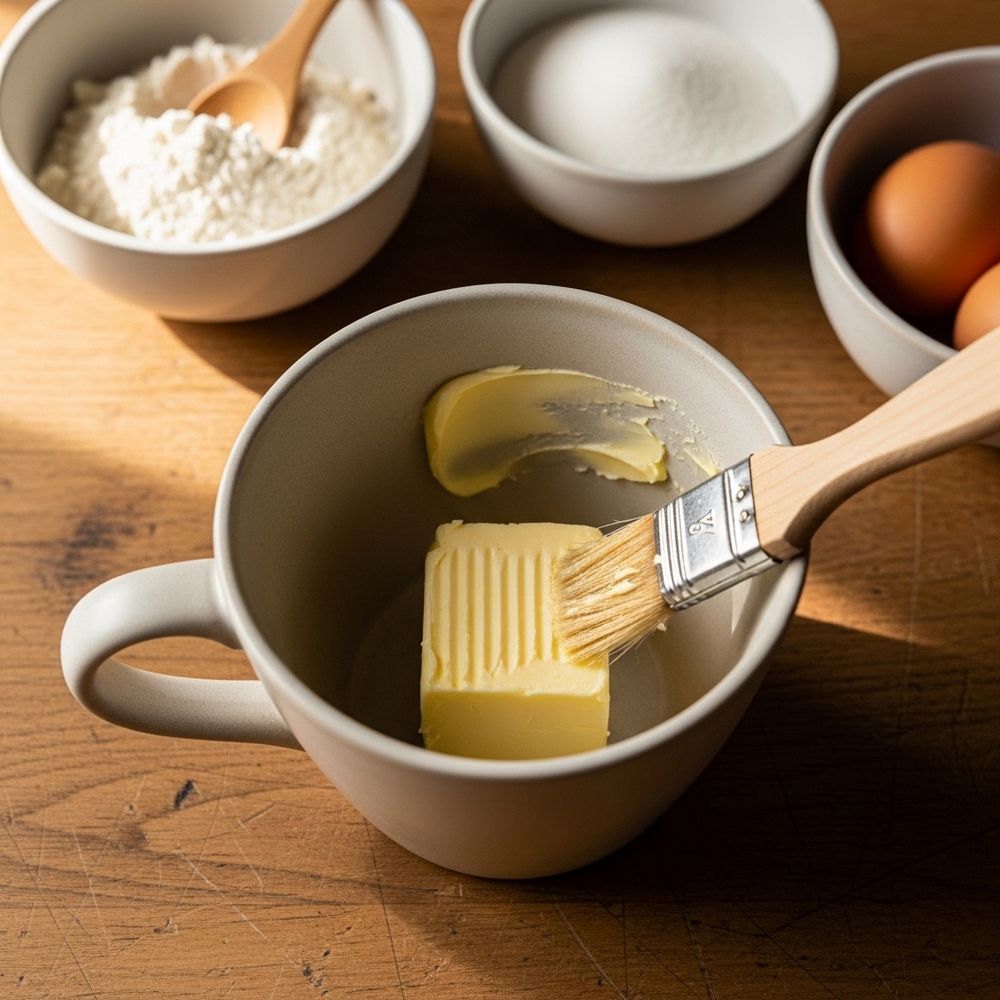
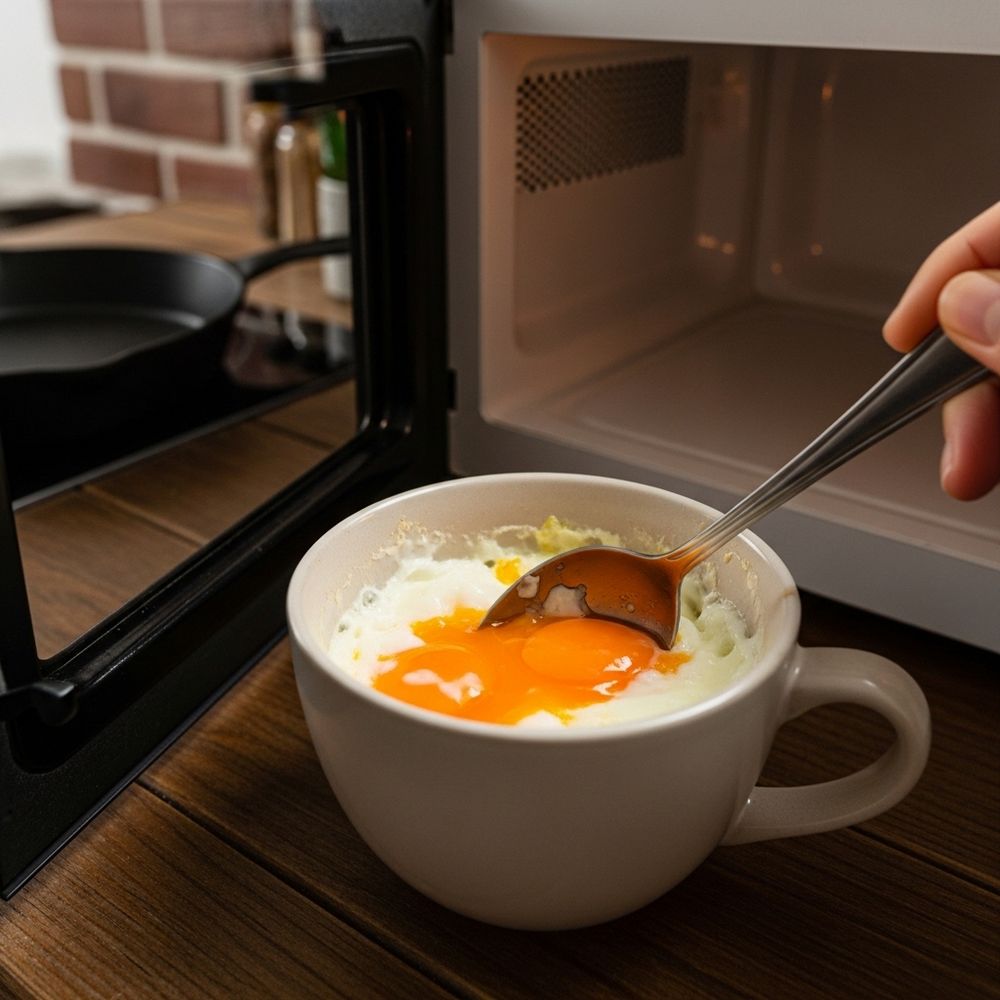
Lightly grease a microwave-safe mug (about 10–12 oz) with butter or cooking spray, coating the bottom and sides so the eggs do not stick.
Step two…

Crack the eggs into the mug. Add milk, salt, pepper, and dried herbs if using. Whisk thoroughly with a fork until the mixture is smooth and well combined.
Step three…

Stir in the shredded cheese, diced bell pepper, chopped ham or bacon, and green onion. Make sure the fillings are evenly distributed throughout the egg mixture.
Step four…
Microwave on high for about 45 seconds. Remove and gently stir the eggs from the edges toward the center to help them cook evenly.
Step five…

Return the mug to the microwave and cook for another 30–45 seconds, or until the omelette has puffed up and the eggs are just set in the center (no liquid egg remains).
Step six…

Let the mug omelette rest for 30–60 seconds to finish cooking gently. Top with a little extra cheese or herbs if desired, then enjoy straight from the mug.
Pro Tip
For the fluffiest texture, do not overcook—stop the microwave as soon as the center is just set. The omelette continues to firm up while resting.
2-Minute Mug Omelette
Notes
Use a wider mug rather than a tall narrow one so the omelette cooks more evenly and does not overflow as it puffs up in the microwave.
FAQs
Q1. Can I make this mug omelette without meat?
A1. Yes, simply leave out the ham or bacon and add extra vegetables or cheese for a fully vegetarian version.
Q2. How do I keep the omelette from overflowing in the microwave?
A2. Use a larger, microwave-safe mug (10–12 oz), fill it only halfway, and cook in short bursts, checking between intervals.
Q3. Can I prepare this the night before?
A3. You can mix the eggs and fillings in the mug, cover, and refrigerate overnight. In the morning, give it a quick stir and microwave.
Q4. What vegetables work best in a mug omelette?
A4. Finely chopped quick-cooking vegetables like bell peppers, onions, spinach, mushrooms, and tomatoes work well. Avoid large chunks that may stay too firm.
Q5. Can I make this dairy-free?
A5. Yes, use water or a non-dairy milk instead of regular milk, and either skip the cheese or use a dairy-free cheese alternative.
Q6. Why did my eggs turn rubbery?
A6. Rubbery eggs usually mean overcooking. Reduce the second microwave interval slightly and stop cooking as soon as the center is just set.